The store will not work correctly when cookies are disabled.
We collect user information to provide a better user experience and protect the security of our website. By continuing to use our website, you acknowledge the use of cookies.
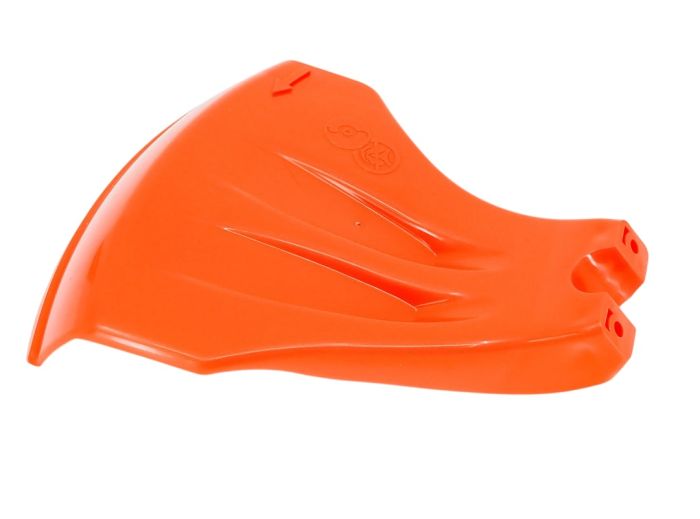
The Husqvarna 531127914 Trimmer Guard Assembly Kit is a replacement part that is used to protect the user while operating the 130L and 330LK models of the trimmer. It protects the user from any flying debris when trimming, hence making it safer and cleaner to use. It is a high-quality part that can be easily fitted on string trimmers to enhance performance and grip. It is better for keeping the yard tidy as it is used in grass and weed cutting and it is used in directing the clippings.
What maintenance is required for the Husqvarna 531127914 Guard Assembly Kit?
Regularly inspect the trimmer guard for cracks, loose fittings, or worn mounting points that could expose the operator to debris. Clean off grass clippings and dirt after each use to prevent clogging. Ensure all fasteners are tight and replace damaged parts immediately. Proper maintenance ensures safe operation and prevents contact with rotating components.
What are common issues with the Husqvarna 531127914 Guard Assembly Kit?
We strive to provide our customers with a hassle-free and efficient shopping experience. Our shipping policy ensures the timely delivery of your orders and complete customer satisfaction. View More
We are committed to ensuring your complete satisfaction with every purchase. We understand that circumstances may arise where you must return a product or request a refund. If for any reason you are not satisfied, you may return the item(s) according to the terms outlined below. View More
This Payment Policy outlines the terms and conditions governing all payments made for products purchased through our website. By making a purchase, you agree to be bound by this Payment Policy. View More
Installation Steps
Step1: Turn off the trimmer and disconnect the spark plug wire or battery.
Step2: Place the trimmer on a stable surface with the cutting head accessible.
Step3: Remove the existing guard and mounting hardware if installed.
Step4: Align the new guard with the mounting holes on the shaft.
Step5: Secure it using the provided screws and tighten firmly.
Step6: Ensure the guard is stable before operating.


Validate your login