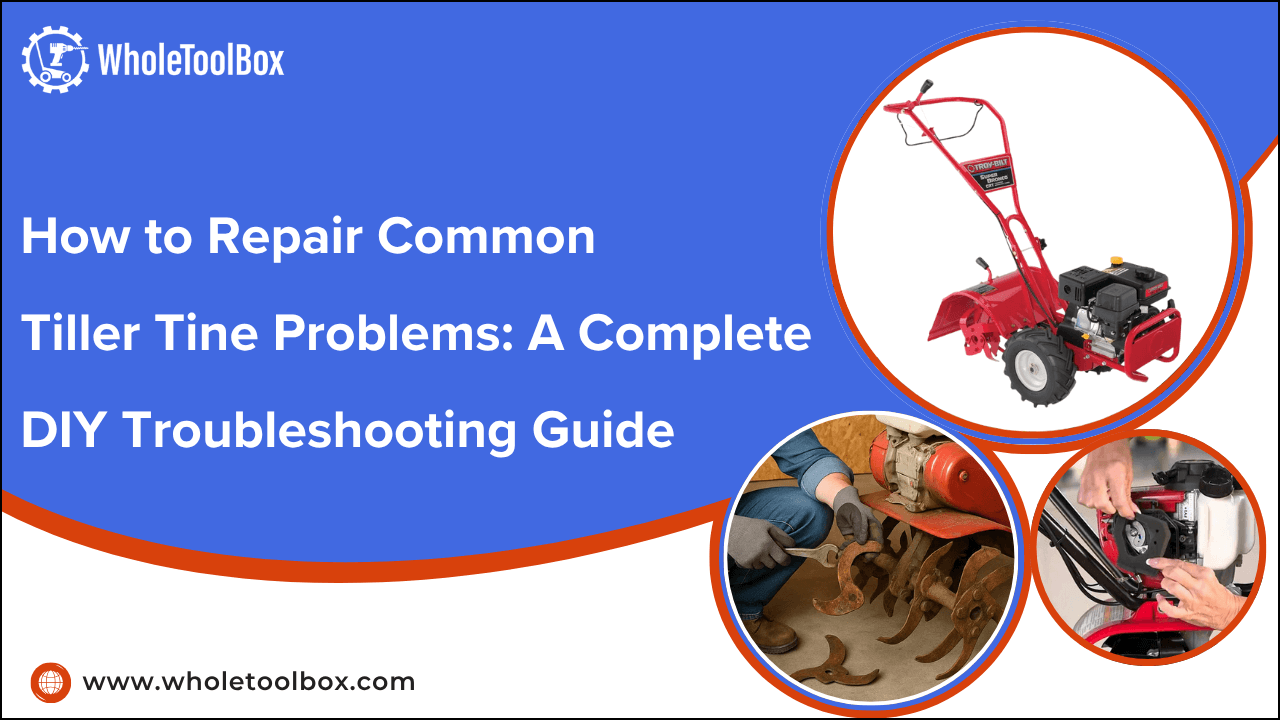
How to Repair Common Tiller Tine Problems: A Complete DIY Troubleshooting Guide
Tiller tines are essential for smooth and efficient soil preparation, but they often face the most wear and tear. Over time, tines can bend, break, or become dull, making tilling harder and less effective. These problems often happen from hitting rocks, roots, or tough soil, but many can be repaired at home with basic tools and proper guidance.
This complete DIY troubleshooting guide will help you identify and fix common tiller tine replacement problems. With step-by-step instructions and practical tips, you’ll learn how to repair, maintain, and prevent future damage. By following these techniques, you can keep your tiller running efficiently and enjoy easier, more productive gardening all season long.
Understanding How a Tiller Tine Works
A tiller tine is a rotating metal blade that breaks up soil, making it easier to plant. Understanding how it works helps diagnose issues, like garden tiller engine problems, that can affect tine performance. Proper knowledge of tines also aids in effective repairs, ensuring a smooth tilling process.
Key Aspects of How a Tiller Tine Works:
Apologies for the confusion! Here's a more concise version of each point in 2 lines, with the keywords naturally included:
-
Rotation Mechanism: Tiller tines rotate on a horizontal or vertical axis, powered by the engine. If there are garden tiller engine problems, the tines may not turn as expected.
-
Blade Design: Tines come in various shapes, like L-shaped or C-shaped, for specific soil types. The wrong tine design can lead to ineffective tilling and tiller tines not turning.
-
Soil Penetration: Sharp edges of the tines break up compacted soil, ensuring proper aeration. Poor penetration could signal worn tines or garden tiller engine problems.
-
Material Strength: Tines are made from hardened steel to endure tough soil and obstacles. Worn or broken tines may require repair to resolve tiller tines not turning issues.
-
Attachment System: Tines are bolted or keyed to the tiller’s rotor for easy replacement. Loose or damaged attachments can cause tiller tines not turning and poor tilling performance.
By understanding these components and their function, gardeners can maintain tines better, troubleshoot issues quickly, and ensure smooth, effective tilling every time.
Looking to fix your tiller but unsure where to start? WholeToolBox has you covered with quality parts from tiller tines to drive belts and carburetors from top brands like Honda, Briggs & Stratton, and MTD you'll find everything you need to get the job done right.
Common Signs Your Tiller Tine Needs Repair
Even well-maintained tillers can develop tine issues that aren’t immediately obvious. Recognizing these hidden signs early helps prevent costly repairs and keeps your tiller efficient.
-
Soil Pulling to One Side: The tiller drifts to one side while operating, indicating uneven tine wear.
-
Shallow Tilling: The tines fail to penetrate the soil deeply despite proper depth settings.
-
Soil Packing: Soil remains compacted instead of being loosened, showing tine dullness or bending.
-
Burning Smell: Overworked or misaligned tines can overstrain the motor, producing a faint burning odor.
-
Excessive Debris Buildup: Mud or roots cling to tines more than usual, reducing efficiency.
-
Unbalanced Rotor: The tiller rocks or shakes even on flat ground, indicating tines are uneven or damaged.
-
Inconsistent Seedbed: Tilling leaves irregular furrows or gaps, often from worn or misaligned tines.
-
Noise Changes: A subtle change in tone or rhythm of the tiller can signal the misalignment.
Spotting these hidden signs early allows you to repair or replace tines before major damage occurs, keeping your tiller reliable and efficient.
Step-by-Step Troubleshooting for Common Tiller Tine Problems
Tiller troubleshooting can help detect hidden problems that reduce efficiency and make soil preparation difficult. Following a simple troubleshooting process can help you address issues like tiller tines not turning and help you figure out why won’t my tiller dig, ensuring your tiller works properly.
Tine Shaft Seizure
Issue: Tines stop turning even when the engine runs.
Cause: Internal damage or worn gear teeth in the tine shaft assembly.
Symptoms: Engine runs, but rotor doesn’t move, or moves with extreme effort.
Fixes:
-
Disassemble the tine shaft housing carefully.
-
Inspect all gear teeth for wear, damage, or missing parts.
-
Replace any damaged or worn gears.
-
Clean the housing thoroughly.
-
Apply proper lubrication to the tine shaft and gears.
-
Reassemble the housing and test the tine rotation.
Excess Grease or Contaminated Lubricant in Tine Housing
Issue: Tines rotate poorly or overheat.
Cause: Worn seals, over-grease, or dirt/water contamination.
Symptoms: Slow tine rotation, overheating, noisy operation, thick dark lubricant.
Fixes:
-
Drain all lubricant from the tine housing completely.
-
Clean out old grease, dirt, and debris.
-
Inspect and replace any worn or damaged seals.
-
Refill the housing with the correct type of gear oil.
-
Test the tine rotation and check for overheating.
-
Monitor periodically to prevent future contamination.
Chipped or Broken Tine Edges
Issue: Tines have small chips or missing tips.
Cause: Hitting rocks, roots, or compacted soil hard enough to damage edges.
Symptoms: Soil is unevenly broken, increased vibration, and reduced tilling efficiency.
Fixes:
-
File out minor chips to smooth edges.
-
Replace tines if the damage is severe.
-
Inspect all other tines for similar damage.
-
Sharpen all tines evenly to maintain performance.
Bent or Misaligned Rotor Tines
Issue: Tines dig unevenly or pull the tiller to one side.
Cause: Hitting rocks, roots, or improper storage/handling.
Symptoms: Uneven soil, shallow tilling, tiller drifts to one side.
Fixes:
-
Inspect each tine for bends or misalignment.
-
Carefully straighten minor bends using a hammer or pliers.
-
Replace severely bent or damaged tines.
-
Check rotor alignment and adjust as needed.
-
Test tilling to ensure even soil penetration.
Hidden Cracks or Hairline Fractures in Tines
Issue: Tines may break suddenly during operation.
Cause: Stress from prolonged use or impact with rocks/roots.
Symptoms: Uneven soil, sudden tine breakage, unusual vibration.
Fixes:
-
Inspect all tines closely for hairline cracks or fractures.
-
Replace any tines that show signs of cracking.
-
Avoid using cracked tines to prevent accidents.
-
Monitor tines regularly for early signs of stress.
-
Keep a spare set of tines ready for replacements.
How to Repair the Most Common Tiller Tine Issues
Tiller tine problems can disrupt your gardening or farming tasks if left unchecked. Learn how to identify, troubleshoot, and repair the most frequent and overlooked tine issues.
Incorrect Replacement Tine Profile
Repair Steps:
-
Remove one of the new tines and compare it side‑by‑side with the original for bolt size and fit.
-
Return or replace the mismatched tines with correct OEM or verified parts.
-
Secure bolts and check for wobble or vibration during test run.
Tip: Always verify part number and bolt size before purchasing replacement tines to avoid fit issues. This is key for DIY tiller repair, ensuring you have the right parts and saving time.
Tines Losing Engagement Under Load
Repair Steps:
-
Inspect belts, clutch, and engagement linkage for wear or slack.
-
Replace or adjust the slipping belt, worn clutch, or faulty engagement lever.
-
Test tiller under load in soil to ensure tines maintain rotation.
Tip: If tines disengage under heavy resistance, reduce depth or clear debris. Frequent adjustments may indicate it's time for a tiller drive belt replacement.
Excessive Root Wrap Around Tines
Repair Steps:
-
Stop and manually remove debris from tines and rotor after the first signs of wrap‑up.
-
Adjust the skid plate or top link angle so the rotor remains higher and avoids drag.
-
Consider installing a guard or shield to deflect fibrous material.
-
Re‑test the tilling area to confirm reduced wrap.
Tip: In dense roots or fibrous plants, slow down and let tines pull material to prevent wrapping. This is a key step in small engine tiller repair, reducing stress on both engine and tines.
Bolt/Anchor Fatigue at Tine Mount or Rotor Hub
Repair Steps:
-
Inspect bolt heads, mount plates, and rotor hub for cracks or elongation of bolt holes.
-
Replace tired bolts with correct grade hardware; if the mount plate shows cracks, weld or replace as required.
-
Re‑torque bolts to spec and periodically recheck for loosening.
Tip: Check bolts and mounting points after heavy use to prevent fatigue. Regular maintenance is crucial for tiller repair tips for homeowners, avoiding costly repairs.
When to Call a Professional for Tiller Tine Repairs
If the engine runs but the tines won’t rotate, or there’s severe damage to the tine shaft, it’s time to call a professional.
-
Complex engine or mechanical issues beyond DIY repair.
-
If the tiller is under warranty and you’re unsure about the problem.
-
When dealing with internal gear damage or tine shaft assembly failure.
-
If repairs involve advanced tools or specialized knowledge for safety.
In these cases, a professional can ensure proper diagnosis and safe, efficient repairs.
Check out this guide on how to safely repair and replace a broken lawn mower handle for easy, step-by-step tips to restore your mower’s strength and performance.
Preventive Maintenance Tips to Keep Your Tiller Tine Running Smoothly
Regular preventative maintenance is essential to keep your tiller tines efficient and extend the life of your machine. Following a comprehensive tiller maintenance guide can help ensure that you avoid costly repairs and improve performance.
-
Clean After Every Use: Remove soil, mud, and plant debris from tines and rotor to prevent rust and clogging. Dry thoroughly to avoid moisture damage.
-
Inspect for Micro-Cracks and Hairline Fractures: Check tines closely under good lighting to catch hidden damage before it leads to sudden breakage.
-
Sharpen Tines Regularly: Maintain the original angle while filing or grinding to ensure balanced rotation and efficient tilling.
-
Lubricate Moving Parts and Hidden Bearings: Apply grease not only to the shaft but also to internal bearings and gear teeth that are easy to overlook.
-
Check for Bolt Fatigue: Inspect mounting bolts and rotor hub for stress or elongation that could lead to loosening or cracks.
-
Rotate Tines Occasionally: Swapping tine positions or rotating the rotor helps even out wear, extending their life. This is an easy yet effective tip for the best way to maintain a tiller.
-
Store in a Controlled Environment: Avoid damp, unventilated areas; consider coating tines with light oil if storing for extended periods.
-
Monitor for Vegetation Wrap: Clear fibrous debris promptly and adjust skid plates to reduce clogging.
Following these steps will keep your tiller tines sharp, reliable, and long-lasting. Don’t forget tiller carburetor cleaning to ensure optimal engine performance.
Also, check out this guide on how to clean a lawn mower carburetor for simple steps to boost engine performance and keep your mower running smoothly.
Restore Power, Precision, and Performance to Your Tiller
When your tiller starts losing digging depth or struggles to break up compact soil, the problem often lies in worn, bent, or misaligned tines. Restoring your tiller’s full power and precision begins with identifying these subtle performance drops early. Replace damaged tines, tighten all bolts, and realign the rotor for smooth, balanced operation. Proper tine shape and rotation angle help your tiller cut through tough soil evenly, reducing engine strain and making tilling faster and more efficient.
Key Takeaways: Troubleshooting & Repair Focused
-
Identify the Root Cause First: Symptoms like uneven soil or drifting often point to bent or misaligned tines, not the engine itself.
-
A Single Faulty Tine Affects the Whole Rotor: Replacing or repairing just the damaged tine can restore overall performance.
-
Gear and Shaft Issues Mimic Tine Problems: If tines won’t rotate despite a running engine, the problem may be the tine shaft or internal gears.
-
Proper Alignment Prevents Repeat Failure: Misaligned tines or rotor can cause uneven wear and vibration, even after new tines are installed.
-
Check Engagement Mechanisms Under Load: Tines that disengage or slip during operation often indicate belt, clutch, or linkage problems rather than blade damage.
-
Quick Repairs Reduce Downtime: Having a step-by-step troubleshooting approach allows gardeners to fix issues immediately, keeping projects on schedule.
Repairing tiller tine problems is about understanding the underlying causes and applying precise fixes. By focusing on troubleshooting, proper alignment, and diagnosing gear or engagement issues, you can restore full digging performance and ensure your tiller operates efficiently and reliably.
FAQs
Why won’t my tiller start after winter?
Cold weather, old fuel, or a drained battery can prevent starting. Replace stale gas, check the spark plug, and charge the battery before use.
How do I fix tiller tines that won’t spin?
Check for a broken drive belt, debris, or a damaged gearbox. Clear obstructions, tighten or replace belts, and ensure proper tine installation.
What maintenance should I do before the tilling season?
Clean and oil tines, check belts, sharpen blades, inspect the engine, and change oil or fuel to ensure smooth operation.


