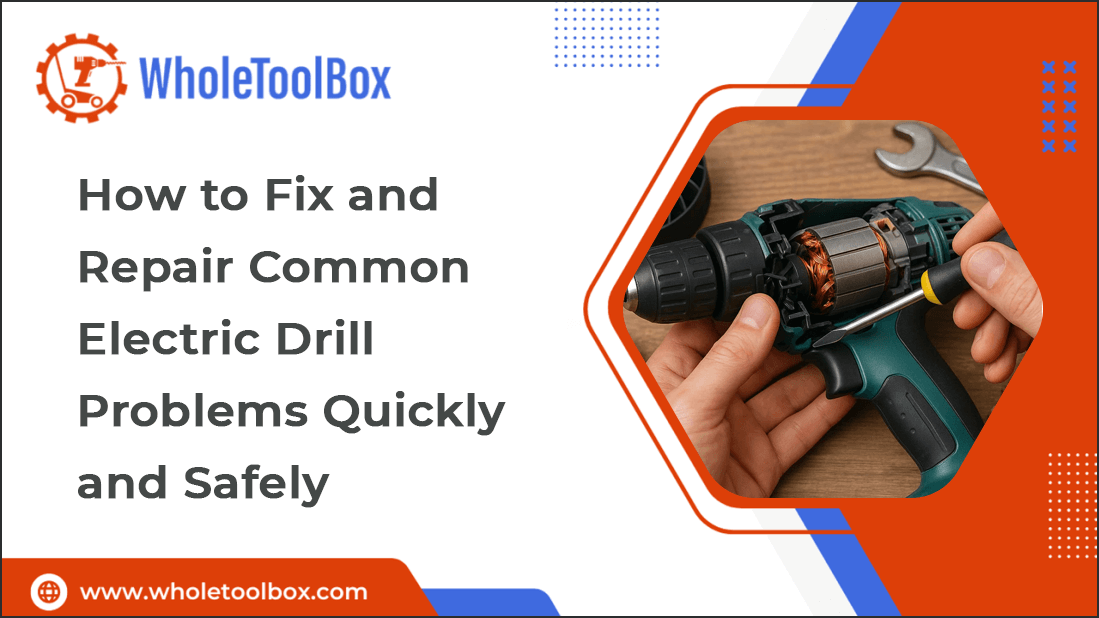
How to Fix and Repair Common Electric Drill Problems Quickly and Safely
Electric drills are essential tools for DIYers and professionals alike, but like any power tool, they can develop issues over time. From power failures to overheating motors, many common problems can be quickly diagnosed and repaired at home with the right knowledge and a few basic tools. Knowing how your drill operates and mastering basic troubleshooting skills can help you avoid wasted time, unnecessary expenses, and frustration. Whether your drill won’t start, the chuck is jammed, or it’s making strange noises, this guide will help you fix the problem safely and efficiently. In this article, we'll cover quick and safe solutions for the most frequent electric drill parts issues, empowering you to keep your tools in top working condition without needing a trip to the repair shop.
Understanding the Role of Electric Drills and How Their Parts Function
Electric drills are versatile power tools essential for drilling holes, driving screws, and performing many other tasks in construction, woodworking, and DIY projects. Understanding their role and how their key parts function helps you diagnose issues and perform repairs more effectively.
Role of Electric Drills:
-
Versatile Tool: Applied to masonry, metal, plastic, and wood, among other materials.
-
Time-Saver: Speeds up drilling and fastening tasks compared to manual tools.
-
Precision: Provides controlled power for accurate drilling and fastening.
Key Parts and Their Functions:
-
Motor: Converts electrical energy into mechanical motion to rotate the drill bit.
-
Chuck: Firmly secures the drill bit, as it can be keyed or keyless.
-
Trigger Switch: Controls the drill’s power and speed by regulating electrical current.
-
Battery or Power Cord: Supplies electrical energy; cordless drills use rechargeable batteries, while corded drills plug into power outlets.
-
Gearbox: Adjusts the speed and torque for different tasks.
-
Brushes: Conduct electricity to the motor; wear over time and may need replacement.
-
Clutch (in some drills): Prevents over-tightening by slipping when a set torque is reached.
Knowing these parts and their functions enables you to pinpoint problems quickly and carry out repairs safely and efficiently.
Common Signs of Issues in Electric Drills
Electric drills may show early signs of trouble that, if noticed promptly, can prevent bigger problems. Here are the main signs to watch for:
-
Drill Won’t Start: This is often caused by power supply or wiring issues.
-
Chuck Won’t tighten or loosen: Mechanical wear or debris can jam the chuck.
-
Reduced Speed or Power: Worn brushes or gearbox problems reduce performance.
-
Burning Smell: Electrical shorts or motor overheating require immediate attention.
-
Intermittent Power: Loose connections or worn brushes cause power cuts.
-
Trigger Problems: A non-responsive or sticky trigger switch affects speed control.
Tools and Safety Precautions for Troubleshooting Electric Drills
Prioritize safety before starting any repair on your electric drill. Ensure you have the proper tools ready and always adhere to important safety precautions.
Essential Tools:
-
Phillips and flat-head screwdrivers
-
Multimeter for testing voltage and continuity
-
Soldering iron for repairing wiring
-
Cleaning brush and compressed air for dust removal
-
Replacement parts such as brushes-, switches, or chucks
-
Lubricant or machine oil for maintenance
Important Safety Measures:
-
Before doing any repairs, either disconnect the drill or take the battery out.
-
To protect your eyes from dust and particles, put on safety goggles.
-
To reduce the chance of receiving an electric shock, use insulated tools.
-
Perform repairs in a well-lit, well-ventilated workspace.
-
Consult the manufacturer’s manual for detailed part diagrams and specifications.
Step-by-Step Inspection and Diagnosis of Electric Drill Problems
Electric drill troubleshooting is essential for identifying and fixing performance issues efficiently. This step-by-step guide outlines the key inspection points to keep your drill running smoothly.
Step 1: Check the Power Supply
-
Verify Power Connection: Make sure the battery is completely charged or that the drill is plugged into a functional outlet.
-
Measure Voltage: To determine the voltage output from the power source, use a multimeter.
Step 2: Inspect the Power Cord or Battery
-
Visual Inspection: Look for cuts, frays, or exposed wires on the power cord or battery terminals.
-
Check for Loose Connections: Wiggle the cord or battery connection to ensure contacts are secure.
Step 3: Test the Trigger Switch
-
Observe Drill Response: Press the trigger to see if the drill powers on smoothly or if it cuts out intermittently.
-
Continuity Test: Check the electrical continuity of the switch by pressing it with a multimeter.
Step 4: Examine the Chuck
-
Functionality Check: Ensure the chuck tightens and releases the drill bit without slipping.
-
Clean the Chuck: Remove any dirt or debris obstructing the chuck’s movement.
Step 5: Inspect the Motor Brushes
-
Access the Brushes: Carefully open the drill casing to reach the motor brushes.
-
Check Wear and Tear: Inspect brushes for wear or burning; replace if necessary.
Step 6: Check for Overheating Signs
-
Smell Test: Detect any burnt odors near the motor.
-
Visual Inspection: Look for discoloration or melted plastic around the motor housing.
Step 7: Assess the Gearbox and Clutch
-
Manual Rotation: Rotate the gearbox to check for smooth operation without resistance.
-
Listen for Noises: Identify any grinding or unusual sounds indicating worn gears or clutch issues.
Repairing Common Electric Drill Problems Quickly and Safely
Electric drills are vital for many jobs, but like any tool, they may experience issues with use over time. Understanding common problems with electric drills, their symptoms, and effective solutions can help maintain your drill's performance and longevity.
Drill Stops Suddenly During Use
Symptoms:
-
Drill stops working without warning
-
Power loss during operation
-
No response when the trigger is pulled, your drill won’t start despite a charged battery.
Causes:
-
Overheating from long continuous use
-
Overloading by using the wrong bit or too much pressure
Repair Solutions:
-
Cool Down: To give the drill's motor time to cool down, let it rest in between uses.
-
Right Bit: Use a drill bit matched to the material to avoid overstraining.
-
Ease Pressure: Don’t push too hard and let the drill do the work.
Drill Loses Power or Cuts Out Intermittently
Symptoms:
-
Drill runs, then stops, then starts again
-
Feels weak or performance is inconsistent
-
Trigger might feel loose or delayed
Causes:
-
Faulty trigger switch
-
Battery connection is weak or corroded
Repair Solutions:
-
Clean/Replace Trigger: Fix or clean the trigger if it’s not engaging properly.
-
Check Battery Contacts: Clear corrosion and tighten any loose connections.
-
Replace Battery: If the old battery is no longer able to hold a charge, replace it with a new one.
Overheating
Symptoms:
-
The drill becomes hot to the touch
-
Burning smell while operating
-
Discoloration or warping in drill bit or housing
Causes:
-
Continuous operation without pause
-
Wrong type of bit is creating too much friction
Repair Solutions:
-
Take Breaks: Pause periodically to let the drill cool.
-
Use a Proper Bit: Use a bit suitable for the material being drilled.
-
Lubricate: Apply oil or coolant, especially when drilling metal.
Chuck Won’t Tighten or Loosen Properly
Symptoms:
-
Chuck feels stuck or difficult to turn
-
Electric Drill bits slipping during use
-
Chuck doesn’t grip bits firmly
Causes:
-
Debris or dust in the chuck mechanism
-
Worn chuck jaws or internal parts
Repair Solutions:
-
Clean Chuck: Remove debris from the chuck jaws and inside the chuck.
-
Lubricate Mechanism: Apply light machine oil to improve movement.
-
Replace Chuck: If the existing chuck is worn out or broken, install a new one.
Battery Drains Quickly or Won’t Charge
Symptoms:
-
Battery loses charge very fast
-
Battery won’t charge fully or charges erratically
-
Tool performance drops sharply as the battery drains
Causes:
-
Old or degraded battery cells
-
Dirty or damaged charging port or contacts
Repair Solutions:
-
Replace Battery: Use a new battery if the current one is failing.
-
Clean Charging Port: Remove dirt or corrosion from the port and battery contacts.
-
Use Correct Charger: Always use a charger designed for your battery type.
By addressing these common electric drill problems promptly, you can keep your tool running smoothly and safely. Regular maintenance and proper use go a long way in preventing future issues.
Check out this guide on how to troubleshoot and replace table saw parts to keep your equipment running safely, efficiently, and extend its lifespan.
Maintenance Tips to Keep Your Electric Drill Running Smoothly
A little regular care can greatly improve your drill’s performance and lifespan. By following these easy maintenance procedures, problems can be prevented before they arise.
-
Clean Housing and Vents: Remove dust, debris, and metal shavings from vents and outer casing after each use so airflow stays unobstructed.
-
Lubricate Moving Parts: Apply machine oil or grease to components like the chuck, gears, and bearings to keep parts moving smoothly.
-
Inspect Power Cord and Plug: Regularly check for fraying, loose wires or damage in cords and plugs, and repair or replace as needed.
-
Check and Replace Bits: Use sharp drill bits suited for the material; replace worn or damaged bits to maintain precision and reduce strain.
-
Store Properly: Keep the drill in a dry, clean place and avoid exposure to moisture, heat, or dust when not in use.
-
Let It Cool Before Storing: After using the drill for a long time, allow it to cool down fully before putting it away.
Check out this guide on power tool maintenance to learn essential tips for extending tool life, improving performance, and preventing costly repairs.
Conclusion
Proper care and timely repairs are essential to ensure your electric drill performs reliably and safely. Promptly recognizing and fixing common electric drill parts problems saves both time and money while stopping small issues from turning into expensive repairs. Regular maintenance paired with thorough troubleshooting can significantly prolong the life of your drill. Always prioritize safety during repairs and consult the manufacturer’s guidelines if you’re unsure. By following these steps, you’ll ensure your drill remains efficient and prepared for any job.
FAQs
Why won’t my drill turn on even though it’s charged or plugged in?
The issue may be due to a faulty trigger switch, damaged power cord, or worn motor brushes.
Check all connections and test components individually to identify the fault.
What causes a drill to overheat so quickly?
Blocked air vents, continuous use, or using the wrong bit can lead to overheating.
Let the drill rest between tasks and clean vents regularly.
What should I do if my drill is making strange noises or vibrating unusually?
This usually indicates loose screws, worn bearings, or an unbalanced chuck.
Inspect internal components and tighten or replace parts as needed.
Why does the chuck slip or fail to hold the bit securely?
A dirty or worn chuck can prevent proper grip on the bit. Clean the chuck and replace it if it no longer holds bits firmly.


