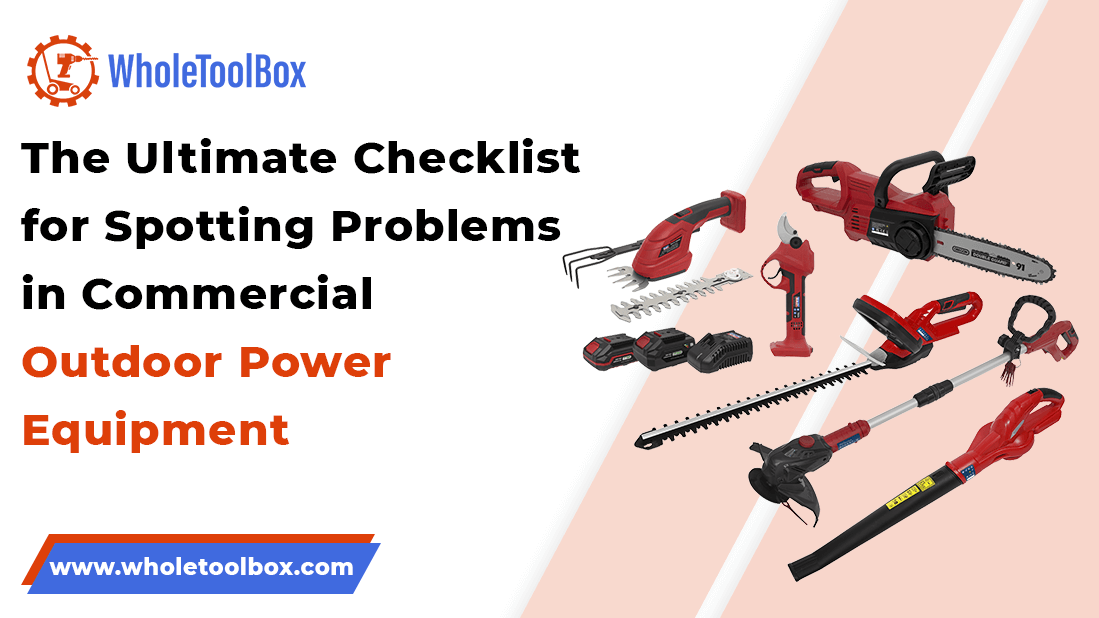
The Ultimate Checklist for Spotting Problems in Commercial Outdoor Power Equipment
Commercial outdoor power equipment plays a crucial role in various industries, including landscaping and construction. Ensuring this equipment operates reliably requires regular inspections to detect potential problems early. This ultimate checklist is designed to help you systematically spot issues before they cause costly breakdowns or safety hazards. Covering critical components such as engines, hydraulics, blades, and electrical systems, this guide provides a thorough approach to maintenance checks. Whether you’re a technician, fleet manager, or business owner, following this checklist will help you maintain optimal equipment performance, extend its lifespan, and minimize downtime. Use this comprehensive resource to keep your outdoor power equipment parts running smoothly and safely all year round.
Understanding Commercial Outdoor Power Equipment: Types and Common Uses
Commercial power tools cover a wide range of equipment designed to perform demanding tasks in construction, manufacturing, woodworking, and maintenance. Unlike consumer-grade tools, commercial versions are engineered for high performance, extended use, and durability in tough job-site conditions, making them essential for professionals who depend on precision and efficiency.
Some common types of commercial power tools include:
-
Drills: Used to drill holes in a variety of materials, including concrete, metal, and wood. Commercial drills are designed to be strong, dependable, and long-lasting in hectic settings.
-
Grinders: Perfect for polishing, grinding, and cutting masonry or metal. These tools are critical in fabrication, welding, and construction work.
-
Impact Drivers: Deliver high torque to drive screws and bolts with ease, especially in tough materials. They’re commonly used in framing and heavy assembly tasks.
-
Saws (Circular, Reciprocating, and Miter): Designed to quickly and precisely cut through plastic, metal, and wood. Commercial saws are essential for framing, demolition, and fine woodworking.
-
Rotary Hammers: Perfect for drilling into concrete, brick, and stone. These tools combine hammering force with rotation for heavy-duty masonry tasks.
-
Sanders: Used for smoothing and finishing surfaces. In commercial settings, they provide the power and control needed for high-quality results on larger projects.
Knowing the type and purpose of your power tools is crucial for proper use and maintenance, especially when used heavily in commercial environments. Staying informed helps you detect wear early, reduce downtime, and keep productivity high.
Looking for reliable parts to keep your commercial outdoor power equipment running smoothly? WholeToolBox offers top-quality essential parts such as spark plugs, air filters, and blades from brands like Honda, Toro, and Husqvarna for all your maintenance needs, quality you can count on!
How to Spot Early Signs of Wear and Malfunctions in Outdoor Power Equipment
Recognizing early signs of wear in commercial power tools helps prevent costly downtime and potential safety hazards. Frequent inspections help you identify issues before they become more serious and guarantee that your instruments continue to be dependable and effective.
-
Unusual Noises: During operation, grinding, screaming, or clicking sounds may indicate internal damage, worn gears, or bearings.
-
Leaks: Any signs of oil or lubricant leaking from the tool may indicate damaged seals or over-lubrication.
-
Performance Drops: Loss of torque, slower operation, or tools struggling under normal loads can point to motor or battery issues.
-
Visible Wear: Frayed power cords, cracked housings, worn-out brushes, or dull cutting edges suggest it's time for replacement or repair.
-
Electrical Issues: Flickering lights, unresponsive triggers, or inconsistent power flow may be caused by faulty wiring, switches, or battery problems.
-
Excessive Vibrations or Overheating: Vibrating handles or tools becoming unusually hot during operation can indicate internal misalignment or motor strain.
-
Smoke or Burning Smells: Smoke or an acrid smell while operating the tool can signal overheating components, electrical short circuits, or motor failure.
-
Dust or Debris Buildup: Clogged vents or excess debris around motor housings can reduce cooling efficiency and cause overheating or wear.
By spotting these early warning signs, you can address issues promptly, extend tool life, and maintain peak performance on the job. Proactive maintenance keeps your tools safe, reliable, and ready for demanding tasks.
Daily and Weekly Inspection Checklist for Commercial Power Equipment
Routine daily and weekly inspections are essential for commercial power equipment to reveal early signs of wear or malfunction. Staying on top of these checks helps prevent unexpected failures, reduce repair costs, and ensure workplace safety.
Daily Inspection Checklist
-
Power Source Check: Ensure batteries are fully charged or cords are in good condition with no fraying or exposed wires.
-
Inspect for Leaks: Look for any signs of lubricant or grease leaks, especially in tools with moving parts or gear housings.
-
Safety Features: Confirm that safety guards, covers, and triggers are intact and functioning properly.
-
Physical Damage: Look for cracks, worn casings, or any loose screws and external parts that may affect tool stability.
-
Listen During Use: Start up the tool and listen for odd noises like grinding, buzzing, or knocking that might indicate internal wear.
-
Control Test: Check all switches, buttons, and triggers for responsiveness and proper function.
Weekly Inspection Checklist
-
Tool Attachments: Inspect blades, bits, discs, or pads for signs of wear, chipping, or dullness that can reduce performance or pose safety risks.
-
Air Vents and Filters: Clean or check air vents and dust filters to prevent overheating and motor strain.
-
Electrical System: Check for corrosion, loose connections, or frayed insulation on plugs, cords, battery terminals, and wiring.
-
Function Indicators: Test built-in lights, battery indicators, or overload alerts to ensure all tool status indicators are working.
-
Overheating or Vibration: Note any excessive heat or vibration during extended use—these could indicate motor or alignment issues.
-
Fasteners and Casings: Tighten any loose bolts, screws, or housing covers that could compromise the tool's safety or structure.
Tip: Consistently performing these inspections helps extend the lifespan of your tools, boosts jobsite efficiency, and keeps operators safe. Make inspection part of your daily workflow for long-term reliability.
You can identify wear or malfunction early and schedule repair before problems get worse by routinely checking these important areas.
Common Mechanical Issues and How to Identify Them Early
Recognizing the early signs of wear or malfunction ensures timely maintenance, safe operation, and extended tool life.
-
Motor Issues: Difficulty starting, unusual noises, reduced power, or overheating can indicate clogged air vents, worn brushes, or failing armatures. Motor burnout can be avoided by early replacement of worn components and routine maintenance.
-
Worn or Dull Attachments: Decreased performance, rough operation, or excessive vibration may point to dull blades, bits, or sanding pads. Regular inspection and replacement of worn attachments ensure effective and safe operation.
-
Overheating and Smoke: A burning smell, hot housing, or visible smoke could indicate electrical overload, blocked ventilation, or internal friction. Prompt shutdown and inspection help avoid permanent damage.
-
Battery and Charging Problems: Slow charging, short run times, or a failure to power on may result from worn-out batteries, faulty chargers, or corroded terminals. Routine battery checks and proper storage help maintain consistent performance.
-
Electrical Faults: Flickering power, intermittent operation, or no response can stem from frayed cords, loose connections, or switch failures. Visual inspections and electrical testing help catch these issues early.
-
Gear and Transmission Wear: Grinding noises, irregular speeds, or difficulty changing modes in multi-speed tools can signal gear wear or lubrication issues. Lubricating gears and addressing odd behavior early can prevent total failure.
By identifying these common mechanical issues early, you can keep your power tools operating efficiently, reduce unexpected downtime, and extend their usable lifespan.
Quick Fixes and Repair Tips for Common Outdoor Power Equipment Problems
When power tools show common problems, quick fixes can save time and prevent bigger issues. Whether working in a power tools commercial setting or your workshop, here are practical repair tips to keep your tools running smoothly.
Power Tool Won’t Start
The tool won’t power on or shuts off shortly after starting.
Cause: The tool may not start due to a dead battery, faulty switch, worn brushes, damaged cord, or internal motor failure.
Symptoms: No response, intermittent power, or motor cutting out unexpectedly.
Fix: Motor burnout can be avoided by early replacement of worn components and routine maintenance. Inspect the switch, motor brushes, and internal wiring, and replace any faulty components.
Repair Tip: For cordless tools, store batteries at room temperature and charge them every few months if not in use.
Dull or Damaged Bits and Blades
The tool is cutting, drilling, or grinding inefficiently or producing rough results.
Cause: Bits and blades become dull, chipped, or bent from frequent use, overheating, or cutting hard materials.
Symptoms: Slow cutting, overheating, or excessive vibration during operation.
Fix: Remove the bit or blade and sharpen it using the proper sharpening tool, or replace it if it’s chipped or bent. Make sure the replacement is properly aligned and securely installed before use.
Repair Tip: When not in use, keep bits and blades in protective cases to avoid damage.
Worn or Slipping Belts (for Belt-Driven Tools)
The tool runs inconsistently or doesn’t reach full power.
Cause: Belts can wear out, stretch, crack, or become misaligned, reducing power transfer to the tool.
Symptoms: Squealing sounds, loss of speed, or poor performance under load.
Fix: Inspect the belt for signs of wear like cracks, glazing, or slackness, and replace it if needed. To guarantee smooth operation, adjust the belt tension in accordance with the manufacturer's instructions.
Repair Tip: Periodically check belt-driven tools for proper alignment and tension, especially after extended use.
Battery Won’t Hold Charge (Cordless Tools)
The tool won’t run for long or doesn’t charge at all.
Cause: Battery failure can result from age, improper storage, deep discharge, or corroded terminals.
Symptoms: Quick battery drain, failure to power on, or no charging response.
Fix: Clean the battery terminals and test the battery with a known working charger or tool. Replace the battery with a compatible replacement one if it still doesn't hold a charge.
Repair Tip: Store batteries in a dry, moderate-temperature environment and avoid full discharges.
Uneven or Poor Cutting/Drilling
Cuts or holes are imprecise, rough, or inconsistent.
Cause: Poor cuts or holes are caused by dull bits, misaligned guides, or unstable handling during use.
Symptoms: Jagged edges, off-center holes, or wobbling during use.
Fix: Sharpen or replace the blade or bit to restore cutting efficiency. Realign the tool's guides, clamps, or fences to ensure clean and accurate results.
Repair Tip: Use a depth stop or jig for consistent, accurate results.
Weak or Jerky Performance in Pneumatic or Hydraulic Tools
Tool power is inconsistent or sluggish.
Cause: Air or fluid leaks, low pressure, or damaged internal seals can cause inconsistent or weak tool performance.
Symptoms: Reduced force, jerky motion, or tool stalling.
Fix: Inspect fittings and hoses for leaks and replace or tighten them as necessary. Refill air or hydraulic fluid to the correct pressure and replace any worn seals or valves.
Repair Tip: Regularly lubricate fittings and store hoses without kinks to extend system life.
Keeping your power tools in good condition through early detection and simple repairs not only improves performance but also extends their working life. Always follow the manufacturer’s maintenance guidelines and store tools properly between uses.
Check out this step-by-step power tool cord replacement guide to handle repairs safely and efficiently.
Maintenance Best Practices to Prevent Equipment Failures
In order to prolong the life of your outdoor power equipment and prevent costly repairs, regular maintenance is essential. Maintaining a regular maintenance schedule helps you identify possible problems early on and stop them from becoming major ones.
Preventive Maintenance Best Practices:
-
Follow Manufacturer’s Maintenance Schedule: Stick to the manufacturer's maintenance schedule, including timely oil changes, air filter cleaning, and blade sharpening.
-
Conduct Daily Inspections: Perform daily checks for loose bolts, fluid leaks, or worn parts to catch problems early.
-
Keep Equipment Clean: Keep equipment clean to prevent debris buildup that can lead to overheating or component damage.
-
Lubricate Moving Parts Regularly: Regularly lubricate all moving parts to minimize friction and wear.
-
Store Equipment Properly: Store equipment in a dry, covered space to protect it from weather-related damage.
-
Prepare Equipment for Long-Term Storage: If the equipment won’t be used for an extended period, drain the fuel or use a stabilizer to keep it from breaking down.
-
Ensure Operator Training: Make sure all operators are trained to use the equipment properly to avoid unnecessary stress or damage.
-
Keep Maintenance Records: Keep a log of all maintenance tasks and repairs to track the condition and performance of each machine.
By following these best practices, you can improve equipment performance, enhance safety, and minimize costly repairs and downtime.
Check out this ultimate guide to power tool maintenance for tips to extend your equipment’s lifespan.
Conclusion
Regularly using a thorough checklist to spot problems in power tools is essential for keeping your equipment running safely and efficiently. By identifying wear and malfunctions early, you can avoid costly repairs, reduce unexpected downtime, and extend the life of your tools. Consistent inspections, timely maintenance, and quick fixes not only enhance safety but also improve performance, ensuring your power tools equipment parts remain dependable job after job. Investing time in preventive care saves money in the long run and helps maintain peak tool efficiency. Use this checklist regularly to protect your investment and get the most out of your tools.
FAQs
What should I do if my equipment lacks power?
Check the power source, battery charge, and inspect cords, switches, or belts for damage. If everything seems fine but the power is still weak, internal components may need inspection or replacement.
How can I prevent my equipment from overheating?
Clean air vents regularly and avoid using the tool continuously without breaks. Operate in a well-ventilated area and follow the tool's recommended duty cycle.
When should I consult a professional for equipment issues?
If the tool still malfunctions after basic troubleshooting or shows signs of internal damage. Also, seek professional help for electrical faults, motor issues, or complex repairs requiring disassembly.


