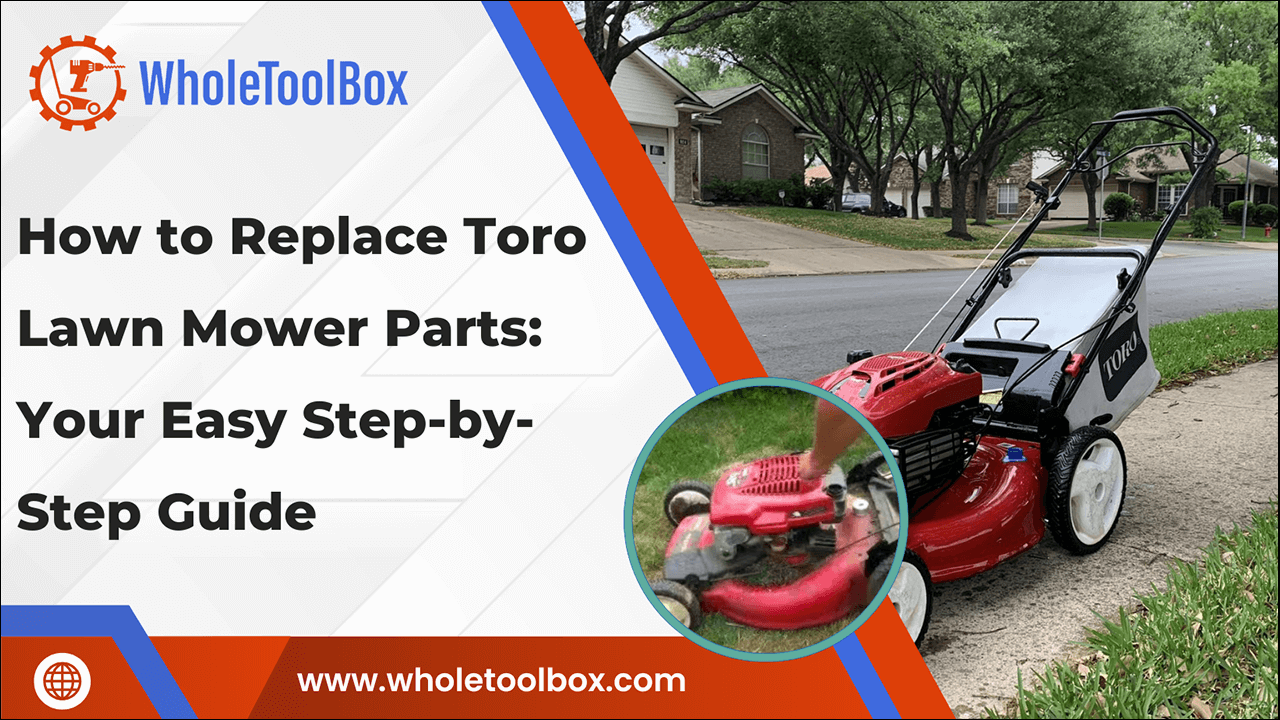
How to Replace Toro Lawn Mower Parts: Your Easy Step-by-Step Guide
Replacing parts on your Toro lawn mower doesn’t have to be complicated. Whether your mower is running rough, not starting, or just showing signs of wear, knowing how to replace key components can save you time and money. This easy step-by-step guide will walk you through the process, from identifying the parts that need attention to safely removing and installing replacements. Whether you’re dealing with blades, belts, spark plugs, or filters, we’ll help you get your Toro mower back in top shape quickly and confidently. With the right tools and a bit of patience, maintaining your Toro lawn mower parts can be straightforward, even if you’re not a seasoned mechanic. Let’s dive in and make your mower ready for the season ahead!
Why Safe Replacement of Toro Lawn Mower Parts Matters
Toro lawn mower replacement parts are crucial for both your safety and the mower’s performance. Lawn mowers involve sharp blades, fuel, and electrical components, so improper handling can lead to injuries or equipment damage. In the end, a safe replacement saves you time and money by ensuring your mower operates smoothly and lasts longer.
Why safe replacement matters:
-
Prevents Personal Injury: Sharp blades and moving parts pose serious risks. Disconnecting the spark plug and wearing protective gloves minimizes accidents.
-
Ensures Correct Functionality: Proper installation prevents parts from failing prematurely or causing operational issues like uneven cutting or stalling.
-
Protects the Engine: Using the correct parts and installing them properly helps avoid engine damage and maintains fuel efficiency.
-
Avoids Voiding Warranty: Following the manufacturer's instructions for replacement preserves your mower’s warranty coverage.
-
Saves Money on Repairs: Mistakes during replacement can cause costly damage requiring professional repairs or full mower replacement.
-
Maintains Environmental Safety: Proper disposal of old parts and fluids helps prevent environmental contamination.
By prioritizing safe replacement, you keep your mower reliable and yourself safe during maintenance.
Looking to replace worn-out Toro lawn mower parts quickly and easily? At WholeToolBox, you’ll find high-quality blades, carburetors, and fuel tanks from top brands like Toro, Honda, and Husqvarna. Shop with confidence and keep your outdoor equipment running like new!
Identify the Toro Lawn Mower Part That Needs Replacement
Before replacing any part, accurately identifying the issue helps prevent common Toro lawn mower issues. This saves time and money by targeting the right component for repair.
-
Dull or Damaged Blades: If your mower cuts unevenly or tears grass instead of cutting cleanly, the blades may be dull, bent, or cracked.
-
Worn or Broken Belts: The mower may lose power, or the wheels or blades may not drive correctly due to slipping belts.
-
Faulty Spark Plug: Difficulty starting, engine misfires, or poor performance often indicate a worn or fouled spark plug.
-
Clogged Air Filter: A clogged air filter can reduce engine power and increase fuel consumption by restricting airflow.
-
Dead or Weak Battery: For electric start models, a battery that won’t hold a charge means replacement is necessary.
-
Leaking Fuel Lines or Filters: A smell of fuel or visible leaks suggests that fuel system components need inspection.
-
Clogged or Dirty Oil Filter: Poor engine performance or oil contamination might indicate the oil filter needs replacement to protect the engine.
Inspect your mower regularly and consult your owner’s manual to correctly identify and source the right Toro replacement parts.
Steps to Replace Common Toro Lawn Mower Parts
Dealing with Toro lawn mower parts problems doesn’t have to be complicated. Many worn or damaged parts can be replaced easily with the right tools and instructions, keeping your mower running smoothly and efficiently.
Step 1: Prepare Your Workspace
-
Park the Mower: Place it on a flat, stable surface to prevent movement.
-
Turn Off Engine: Before beginning any work, make sure the mower is totally off.
-
Disconnect Spark Plug: Remove the spark plug wire to avoid accidental starts.
-
Wear Safety Gear: To protect yourself, put on safety glasses and gloves.
Tip: Use a sturdy workbench or blocks to tilt the mower safely when accessing the underside.
Step 2: Gather Tools and Replacement Parts
-
Consult Manual: Check your Toro mower manual for required tools and part specifications.
-
Gather Tools: Socket wrenches, screwdrivers, pliers, and spark plug wrenches are examples of common tools.
-
Get Replacement Parts: Ensure the parts match your mower’s model number exactly.
Tip: Keep all screws and bolts in a small container to avoid losing them during replacement.
Step 3: Remove the Old Part
-
Remove Blade: Use a socket wrench to loosen and remove the blade bolt, then slide the blade off the shaft.
-
Unscrew Spark Plug: Carefully remove the spark plug with a spark plug wrench.
-
Take Off Belt: Taking note of the belt routing, slide the belt off the pulleys after removing the protective covers.
-
Extract Filters: Unscrew or pull out the air or oil filters from their housings.
Step 4: Clean and Inspect
-
Clean Surroundings: Remove dirt, grass clippings, and debris around the patio area.
-
Examine Components: Look for any indications of wear, damage, or leaks in nearby parts.
Tip: Use a brush or compressed air to clean hard-to-reach spots.
Step 5: Install the New Part
-
Attach Blade: Align the new blade and tighten the bolt securely (follow torque specs in manual).
-
Install Spark Plug: To prevent cross-threading, thread the new plug by hand before tightening it with a wrench.
-
Route Belt: Follow the belt routing diagram and place the belt on the pulleys, and replace any covers.
-
Fit Filters: Insert the new air or oil filter firmly into its housing.
Tip: To make future removal easier, lightly lubricate the spark plug threads with anti-seize lubricant.
Step 6: Final Checks and Testing
-
Reconnect Spark Plug Wire: Attach the wire back to the spark plug.
-
Start Mower: Switch the mower on and listen for any strange sounds or sensations.
-
Test Functionality: Run the mower to make sure the parts that were replaced are operating as intended.
Tip: After the first use, double-check the blade bolt and other fasteners to ensure they are tight.
Check out this guide on how to replace lawn mower belts to keep your mower running smoothly and extend the life of your mower.
Testing Your Toro Lawn Mower After Part Replacement
Once you’ve replaced any part on your Toro lawn mower, proper testing is essential to ensure everything is installed correctly and operating safely. This procedure ensures your mower is ready for use and helps you identify problems early.
-
Reconnect the Spark Plug or Battery: Make sure the spark plug wire is firmly reattached, or the battery is reconnected if your mower has an electric start.
-
Verify Fuel and Oil Levels: Before starting, make sure your mower has adequate fuel and clean oil. Component damage and performance can result from low or filthy fluids.
-
Start the Mower Carefully: Turn on the lawnmower and give it a minute or two to run. Listen closely for any unusual noises like knocking, grinding, or rattling.
-
Inspect for Vibration or Shaking: If you replaced the blade or belt, check for excessive vibration. This could indicate misalignment or loose bolts.
-
Test Mowing Functionality: Engage the blade or self-propel system (if applicable) and mow a small patch of grass. Confirm the mower cuts cleanly and drives smoothly.
-
Do a Final Visual Check: After the test run, turn off the mower and inspect the replaced part. Verify that everything is tight and free of leaks or loose parts.
Maintenance Tips to Extend the Life of Your Toro Lawn Mower
Regular maintenance not only boosts the performance of your Toro lawn mower parts but also helps extend their overall lifespan. Performing simple, routine care can prevent expensive repairs and keep your mower operating like new.
-
Clean After Each Use: Clear away grass clippings, dirt, and debris from the mower deck, blades, and wheels. Accumulated debris can cause rust, blockages, and decrease cutting efficiency over time.
-
Change the Oil Regularly: Oil lubricates and cools the engine. Check the oil level frequently and replace it every 25–50 hours of use, or at least once every mowing season, to maintain optimal engine health.
-
Replace the Air Filter Annually: A dirty air filter restricts airflow, causing the engine to work harder and lowering performance. Replace your Toro lawn mower air filter yearly or more often in dusty conditions to maintain smooth operation and fuel efficiency.
-
Sharpen or Replace Blades: A cleaner, healthier cut is produced by sharp blades. To enhance the quality of mowing, routinely sharpen them or replace them if they are chipped, bent, or worn down.
-
Check and Change the Spark Plug: A worn spark plug can cause hard starts and misfires. Replacing it annually helps maintain reliable ignition and smoother engine performance.
-
Store Properly During Off-Season: Clean the mower thoroughly, drain or stabilize fuel, and store in a dry, covered area to prevent corrosion and protect internal parts.
Check out this guide on how to clean a lawn mower carburetor to help keep your Toro mower running efficiently.
Conclusion
Taking the time to properly replace worn-out replacement parts Toro lawn mower ensures your mower performs optimally and lasts longer. By following the steps outlined in this guide, you’ve not only restored your equipment but also taken an important step toward safer, more efficient mowing. In the long run, regular maintenance and addressing minor issues before they become large ones will save you time, money, and frustration.. Now that you know how to handle common part replacements, you can feel confident maintaining your Toro mower season after season.
FAQs
How do I know what model Toro lawn mower I have?
You can find the model number on a sticker or plate located on the mower deck, near the engine, or under the mower’s handle. It usually includes a combination of letters and numbers that uniquely identify your Toro mower.
How to replace the flap on Toro lawn mower?
First, disconnect the spark plug for safety, then remove the screws or bolts holding the flap in place. Replace the old flap with the new one, secure it firmly, and reconnect the spark plug.
How many years does a Toro lawn mower last?
With proper maintenance, a Toro lawn mower typically lasts between 8 to 15 years. The lifespan depends on usage frequency, care, and storage conditions.
How to test ignition coil on Toro lawn mower?
Disconnect the ignition coil wire and use a multimeter to check for continuity and proper resistance levels according to the mower’s manual. If the readings are outside the recommended range, the ignition coil likely needs replacement.
How can I find Toro lawn mower parts by serial number?
You can find your Toro lawn mower’s serial number on a sticker or plate located near the engine or mower deck. Use this serial number on Toro’s website or with customer service to identify and order the exact parts you need.


