Powermate Tiller Troubleshooting Guide: Common Issues & Fixes
A Powermate tiller is a reliable and powerful tool for preparing soil, but like any machine, it can sometimes encounter issues that hinder performance. Whether it won’t start, runs rough, or isn’t tilling properly, troubleshooting these problems early can save you time, effort, and money. This guide covers common Powermate tiller problems and their straightforward fixes, helping both new and experienced users keep their equipment in peak condition. From engine issues to tilling depth problems, we’ll walk you through practical solutions you can perform at home, often with basic tools and minimal mechanical experience. Before considering costly repairs or replacements, use this troubleshooting guide to diagnose and resolve the most frequent issues faced by Powermate tiller owners.
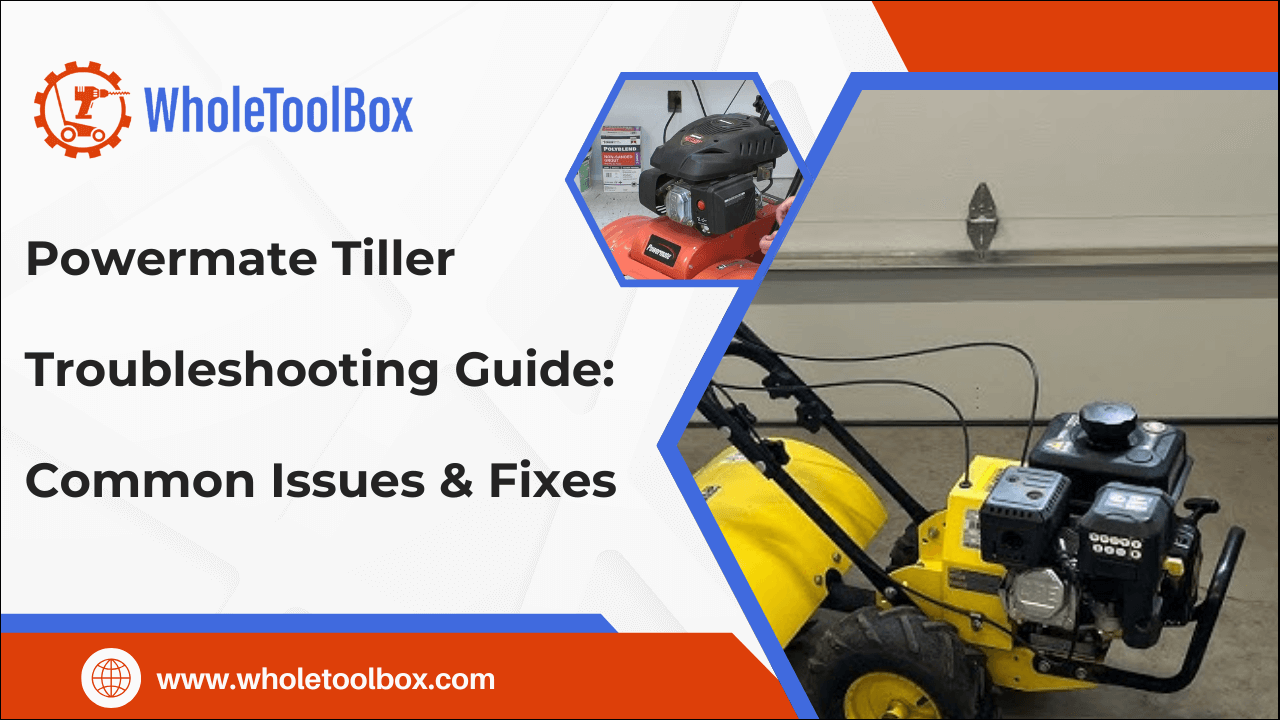
Key Components of a Powermate Tiller
Understanding the key components of your Powermate tiller is essential for effective troubleshooting and maintenance. Knowing these parts can help you diagnose problems more efficiently and carry out repairs with ease, saving both time and money.
-
Engine: This is the heart of the tiller. It powers the entire unit and drives all other components.
-
Tines: The dirt is turned and dug into by these revolving blades. For efficient tilling, this feature is essential.
-
Transmission/Drive System: This transfers power from the engine to the wheels and tines, enabling both movement and digging action.
-
Throttle and Choke Controls: These regulate the engine’s speed and fuel-air mixture, ensuring proper starting and smooth operation.
-
Air Filter and Carburetor: This pair manages the correct mix of air and fuel that enters the engine for efficient combustion.
-
Fuel System: This includes the fuel tank, lines, and filter, which deliver a steady and clean fuel supply to the engine.
-
Wheels and Tires: This provides mobility and traction, helping the tiller move easily across different terrains.
-
Handlebars and Controls: This allows you to steer, operate, and control the tiller with precision.
The first step to successfully troubleshooting and repairing a Powermate tiller is to understand how these parts interact.
Struggling to fix your Powermate tiller? WholeToolBox offers essential parts such as carburetors, air filters, and fuel lines from leading brands Tecumseh, Honda, and Powermate. Get your tiller back in top shape with quality parts that ensure lasting performance.
Signs Your Powermate Tiller Needs Attention
Identifying early warning signs can help you address small problems before they turn into expensive tiller repair. Regularly checking your Powermate tiller helps catch problems early.
-
Hard to Engine Start: This may point to a fuel system problem, a clogged carburetor, or a faulty spark plug.
-
Engine Stalls After Starting: If your engine runs briefly and then shuts off, the air filter or carburetor may be clogged, or the choke may be improperly set.
-
Excessive Vibration or Unusual Noises: These may signal loose bolts, damaged tines, or issues within the engine or drive system.
-
Poor Tilling Performance: If the soil isn't being turned properly, worn or damaged tines may be the cause.
-
Oil or Fuel Leaks: These could point to cracked lines, loose connections, or worn gaskets.
-
Tines Not Spinning or Digging Properly: This may be due to a broken shear pin, transmission failure, or disengaged drive.
-
Burning Smell or Smoke: This is a serious sign, often caused by overheating, oil leaks, or engine issues.
-
Power Drops When Under Load: This can indicate that the engine isn't receiving enough air or fuel.
Troubleshooting must be done right away if you observe any of these signs.
Troubleshooting Powermate Tiller: Step-by-Step Common Issues & Fixes
When your Powermate tiller isn’t working as expected, a systematic approach to troubleshooting can help identify and fix common problems quickly. Here’s a step-by-step guide to address frequent issues:
Step 1: Tiller Won’t Start
-
Check Fuel: Verify that the fuel valve is open and that the tank contains new fuel. Old or contaminated fuel can prevent starting.
-
Inspect Spark Plug: Remove and examine the spark plug for dirt or damage. If required, clean it or replace it.
-
Air Filter: Airflow is restricted by a clogged air filter. To guarantee adequate engine breathing, clean it or replace it.
-
Choke and Throttle: Verify that the throttle is engaged and the choke is set appropriately for starting.
Step 2: Engine Starts but Stalls
-
Carburetor Issues: Stalls may be caused by a dirty or clogged carburetor. Use a fuel system cleaner or clean the carburetor.
-
Fuel Line Blockage: Check for any blockages or leaks in the fuel lines. Replace damaged lines.
-
Air Filter: Replace if dirty or clogged.
Step 3: Tines Not Spinning or Poor Tilling Performance
-
Shear Pins: Inspect shear pins that connect the tines to the drive shaft. Replace broken pins.
-
Drive Belt or Chain: Check for wear or slippage and adjust or replace as needed.
-
Check the Tiller Drive Belt: The tiller drive belt often wears out with heavy use and should be checked if there's poor engagement.
-
Transmission: If the tiller doesn’t engage properly, inspect the transmission for damage.
Step 4: Excessive Vibration or Noise
-
Loose Bolts: Tighten the tiller's loose nuts and bolts.
-
Damaged Tines: Replace bent or broken tines.
-
Engine Mounts: Inspect engine mounts and replace if worn out.
Step 5: Loss of Power Under Load
-
Fuel Quality: Use fresh fuel and clean the fuel system.
-
Air Intake: Clean air filter and carburetor.
-
Spark Plug: Ensure spark plug is in good condition.
By following these troubleshooting steps, most common Powermate tiller issues can be diagnosed and fixed quickly, keeping your tiller running smoothly season after season.
Check out this guide on how to troubleshoot and replace table saw parts to identify issues and perform effective repairs on your power tools.
How Regular Maintenance Prevents Powermate Tiller Problems
Regular maintenance is key to keeping your Powermate tiller running smoothly and extending its lifespan. Following a consistent schedule helps prevent breakdowns and costly repairs.
Daily or Before Each Use
-
Check Oil Level: To keep the engine lubricated, make sure the oil is at the proper level.
-
Fuel Supply: Fill the tank with fresh fuel to avoid starting issues.
-
Air Filter Inspection: Look for dirt or clogging that can reduce engine efficiency.
-
Loose Parts and Leaks: Examine the tiller for any loose bolts or fuel/oil leaks.
Weekly
-
Clean Tines and Housing: Remove dirt, debris, and plant material that accumulate during use.
-
Spark Plug Check: Inspect for carbon buildup or wear that can affect engine performance.
-
Drive Belt Tension: Verify belt tightness to ensure proper power transmission.
Monthly
-
Lubricate Moving Parts: To lessen wear, lubricate pivots, cables, and joints using oil or grease.
-
Air Filter Maintenance: To keep the engine's airflow at its best, clean or replace the air filter.
-
Tighten Hardware: Secure all bolts and nuts to prevent vibration-related loosening.
Seasonal (Before Storage or Long-Term Downtime)
-
Fuel System Care: To avoid carbon accumulation and clogs, drain the fuel or add stabilizer.
-
Oil Change: Replace engine oil to keep internal components protected.
-
Proper Storage: Store in a dry, clean area to avoid rust and corrosion.
Following these maintenance steps will keep your Powermate tiller reliable and performing at its best.
Check out this guide on power tool maintenance to learn essential tips and best practices for keeping your equipment in peak condition.
When To Replace Powermate Tiller Parts
Replacing worn parts at the right time is essential to keep your Powermate tiller running efficiently and safely. Timely replacement prevents bigger problems and extends the life of your equipment.
Here are key signs that certain tiller replacement parts are needed:
-
Tines: Replace tines if they are dull, bent, or broken, as this reduces tilling effectiveness and strains the engine.
-
Drive Belt: Change the drive belt if it’s cracked, frayed, or slipping to ensure proper tine engagement.
-
Spark Plug: A corroded or fouled spark plug should be replaced to avoid hard starts and misfires.
-
Air Filter: To preserve appropriate airflow and engine performance, replace a blocked air filter.
-
Fuel Lines: Replace brittle or leaking fuel lines immediately to prevent fire hazards.
-
Wheels: Replace wheels that are wobbly or lose traction to maintain control and maneuverability.
Understanding the parts of a tiller and recognizing wear patterns helps you make timely decisions that keep your machine in peak shape.
Powermate Tiller Storage and Seasonal Care
Proper storage and seasonal care help extend the life of your Powermate tiller and keep it running smoothly after periods of inactivity. Follow these key steps before storing your tiller.
End-of-Season Storage Tips:
-
Drain Fuel or Add Stabilizer: To avoid carburetor blockage and fuel breakdown, empty the fuel tank or apply a fuel stabilizer.
-
Change Engine Oil: To get rid of impurities that can lead to corrosion while being stored, change the oil.
-
Clean Thoroughly: Remove dirt, debris, and plant material from tines and housing to prevent rust and deterioration.
-
Lubricate Moving Parts: To maintain smooth operation, lubricate cables, joints, and pivots using oil or grease.
-
Check for Damage: Before storing, make sure all worn-out or broken parts are replaced.
-
Store in a Dry, Sheltered Area: Keep your tiller in a garage or shed away from moisture and extreme temperatures.
-
Cover the Tiller: To keep it safe from dust and grime, cover it with a tarp or other protective material.
Following these steps ensures your Powermate tiller stays in great condition and is ready to perform when you need it again.
Conclusion
Keeping your Powermate tiller parts in good condition and troubleshooting issues can be straightforward. By understanding its key components, recognizing early warning signs, and following a consistent maintenance routine, you can prevent the most common issues and extend the life of your equipment. Whether you're dealing with starting problems, poor tilling performance, or worn-out parts, addressing problems promptly with the right steps ensures your tiller stays reliable season after season. With proper care, your Powermate tiller will remain a dependable tool for all your soil-preparation needs.
FAQS
Why won’t my tiller engine stay running?
It could be something simple like old fuel, a clogged air filter, or a dirty carburetor. Try cleaning those parts and refueling with fresh gas to see if that helps.
What would cause a tiller to not start?
Most times, it’s due to stale fuel, a bad spark plug, or a blocked fuel line. A quick inspection and replacing worn parts usually gets it going again.
How do I know when to replace my tiller blades?
Replace tiller blades if they’re bent, dull, or not digging into the soil properly. Damaged blades can reduce tilling performance and strain the engine.
How often should tiller tines be sharpened?
Tines should be sharpened once per season or after frequent use. Regular sharpening maintains cutting efficiency and protects your machine.


