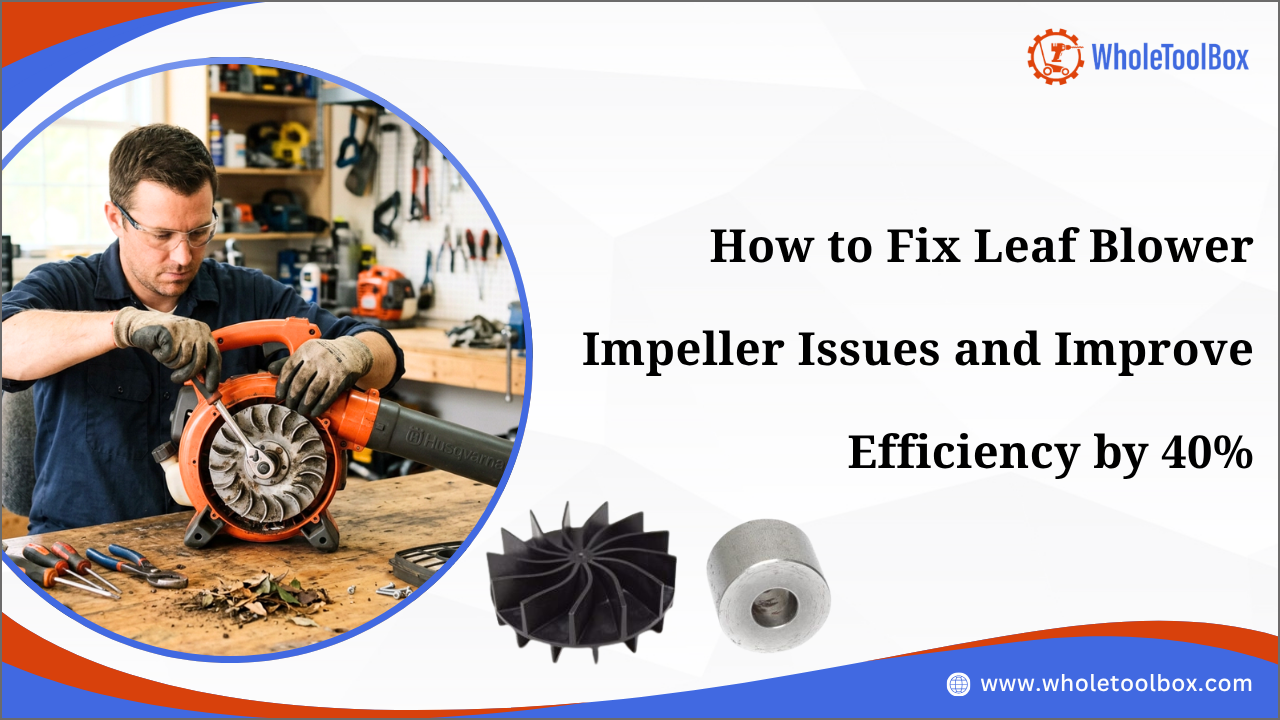
How to Fix Leaf Blower Impeller Issues and Improve Efficiency by 40%
Is your leaf blower losing power or vibrating unusually? In most cases, this problem is caused by a damaged or worn impeller. Since the leaf blower impeller drives the entire airflow system, even minor issues like chipped blades, debris buildup, or imbalance can reduce performance by up to 40%.
A damaged or clogged impeller directly affects airflow inside the blower. Issues such as blade damage, debris buildup, or imbalance reduce air pressure, increase vibration, and weaken blowing performance even when the engine runs normally. Over time, this reduces efficiency and puts extra load on the motor, preventing smooth airflow.
In this blog, you’ll learn how to quickly identify leaf blower impeller problems, fix common issues step by step, and restore strong, consistent airflow. We’ll also cover simple maintenance tips to help prevent future performance loss.
Why a Damaged Impeller Can Reduce Leaf Blower Efficiency by 40%
The impeller is the core airflow component inside a leaf blower. It spins at high speed and generates the air pressure needed to push debris out of the nozzle. When it becomes damaged or worn, the entire airflow system loses efficiency. A damaged impeller reduces performance in several ways:
-
Reduced Air Velocity: Chips or cracks on the blades disrupt smooth airflow, lowering overall air output and blowing power.
-
Unbalanced Rotation: Dirt buildup or broken fins cause uneven spinning, leading to vibration and reduced motor efficiency.
-
Air Leakage Inside Housing: A worn or misaligned impeller prevents proper pressure buildup, reducing airflow strength.
-
Increased Engine Load: The motor must work harder to maintain airflow, which increases fuel or battery consumption.
Over time, these issues build up and significantly reduce overall performance, making the blower feel weak and inefficient even when the engine or motor is functioning normally.
Looking for high-quality leaf blower parts to keep your equipment running smoothly? At WholeToolBox, we offer lawn & garden equipment parts, including adapters, batteries, chargers, and fuel tanks from trusted brands like Makita, Yard-Man, Kawasaki, & more
Top Warning Signs Your Leaf Blower Impeller Needs Attention
The impeller is essential for airflow, and even minor damage can reduce performance. The table below summarizes the key warning signs, causes, and severity.
|
Warning Sign |
What You Notice |
Likely Cause in Impeller |
Severity |
|
Weak airflow |
Blower runs, but air output feels noticeably weak |
Worn, chipped, or clogged impeller blades reducing airflow efficiency |
Medium |
|
Rattling or grinding noise |
Unusual noise that increases with speed |
Broken blade edges or debris striking the impeller during rotation |
High |
|
Excessive vibration |
The unit shakes strongly during use |
Unbalanced impeller due to damage or uneven debris buildup |
High |
|
Overheating |
The blower becomes hot faster than usual |
Restricted airflow forces the motor/engine to work harder |
Medium |
|
Visible blade damage |
Cracks, bends, or missing blade sections |
Physical impact damage or long-term material fatigue |
High |
|
Poor debris movement |
Leaves and debris are not being moved effectively |
Reduced air velocity due to inefficient impeller performance |
Medium |
|
Sudden performance drop |
The blower was functioning normally, but suddenly weakened |
Impeller damage or partial blockage in the airflow path |
Medium |
Find out how to choose the best leaf blower for your lawn without overspending by comparing power, price, and features
Step-by-Step Process to Fix Leaf Blower Impeller Issues
To accurately diagnose and resolve impeller problems, follow the step-by-step process below in sequence to isolate the issue and restore proper airflow performance.
Step 1: Disconnect Power Source Safely
Make sure the blower is completely powered off by disconnecting the spark plug on gas models or removing the battery/unplugging the unit on electric models to prevent any accidental startup.
Step 2: Open the Blower Housing
Use the correct screwdriver or socket tool to remove the outer casing carefully while keeping all screws organized to ensure smooth reassembly later.
Step 3: Inspect the Impeller for Physical Damage
Examine the impeller blades closely for cracks, chips, or warping, and rotate them manually to check for smooth movement without wobbling or resistance.
Step 4: Remove Debris and Blockages
Clean the housing thoroughly by removing leaves, dirt, or small stones using compressed air, a brush, or a soft cloth to restore proper airflow.
Step 5: Check Shaft Alignment and Bearings
Spin the impeller and observe its movement, as any wobbling, friction, or uneven rotation may indicate misalignment or worn bearings.
Step 6: Tighten Mounting Components
Secure all screws, bolts, and mounting points firmly while ensuring they are not over-tightened to prevent stress damage or cracks in the housing.
Step 7: Replace Damaged Impeller If Necessary
If the impeller is severely damaged with cracks, breaks, or deformation, replace it with a compatible part that matches your blower model for proper performance.
Step 8: Reassemble and Test Performance
Reattach the housing securely and run the blower under normal operating conditions while checking airflow strength, noise levels, and vibration to confirm the repair is successful.
Check out leaf blower carburetor vs. Fuel line issues: How to spot the real problem by diagnosing engine fuel flow issues
How Proper Impeller Maintenance Can Boost Airflow Performance
Below are the key benefits of proper impeller maintenance, highlighting its role in improving airflow performance and overall equipment efficiency:
-
Improves Airflow: Cleaning the impeller removes dust, debris, and buildup that block smooth air movement, allowing stronger and more consistent airflow.
-
Restores Balance: A clean and well-maintained impeller spins evenly, reducing wobbling and ensuring maximum air pressure is generated.
-
Reduces Noise: Proper maintenance helps prevent imbalance, which lowers vibration levels and keeps the blower running more smoothly and quietly.
-
Prevents Wear: Regular inspection helps catch small cracks, wear, or debris buildup early before they turn into major efficiency problems.
-
Boosts Efficiency: When the impeller spins freely, the engine or leaf blower motor doesn’t have to work as hard, improving overall output performance.
-
Extends Lifespan: Reduced strain on internal components lowers wear and tear, helping the leaf blower last longer.
Summary: Restore Peak Leaf Blower Performance and Maximize Efficiency
A leaf blower’s performance depends on a properly functioning impeller, which controls airflow and pressure. When damaged or clogged, it can cause weak airflow, excessive vibration, and reduced efficiency. Regular inspection, cleaning, and timely leaf blower impeller replacement help restore proper airflow, prevent further damage, and keep the equipment running efficiently.
Key Takeaways
-
A damaged impeller directly reduces airflow strength and overall blower efficiency.
-
Even minor blade damage or debris buildup can cause vibration and performance loss.
-
Cleaning and inspection help restore balanced rotation and smooth airflow.
-
Early detection of wear prevents costly repairs and major component failure.
-
Proper maintenance reduces motor or engine load, improving energy efficiency.
-
Regular care significantly extends the lifespan and reliability of the leaf blower.
FAQs
What to do when a gas leaf blower impeller nut keeps coming loose?
If the impeller of a leaf blower keeps coming loose, check for worn threads, tighten the nut properly, and use a thread-locking compound to prevent repeated loosening.
Can I repair a leaf blower that's not blowing air?
Yes, if the issue is minor, like dirt buildup or a slight blockage. However, broken or severely damaged impellers usually require replacement.
How to replace a leaf blower's impeller fan for better airflow?
Disconnect power, open the housing, remove the mounting bolt, replace the impeller, and reassemble carefully. Always test at low speed first.
How to fix a noisy Ryobi Leaf Blower?
Noise often comes from loose impellers, debris inside the housing, or worn bearings. Cleaning and tightening components usually helps; replace damaged parts if noise persists.
|
Disclaimer: This content is for informational purposes only. Always consult a qualified technician before performing repairs or maintenance. |


